From download to first capture.
Setup asks for Xcode and offers the rest, and every choice can change later. Then open a device and the panel is already beside it.
-
Get SimBuddy.
SimBuddy is coming to the Mac App Store. Leave your address and we’ll write once, on the day it’s out.
It runs beside Xcode’s Simulator on macOS 14 and later. Free to start, no account.

-
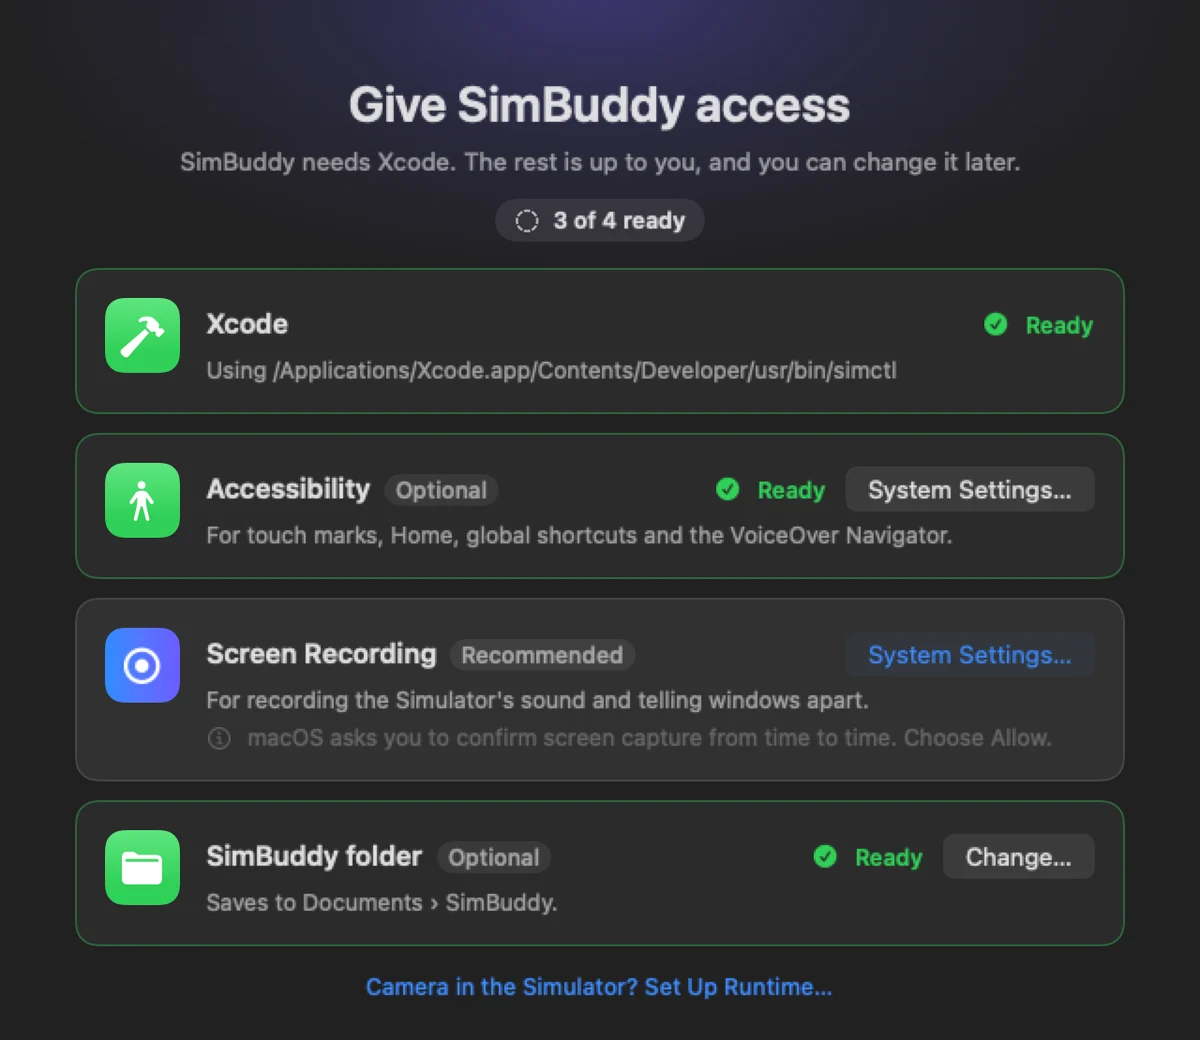
Give it access.
SimBuddy needs Xcode. The rest is up to you, and System Settings can change it later:
- Accessibility, for touch marks in recordings and global shortcuts
- Screen Recording, for sound and clicks in recordings, overlays and telling windows apart
- A SimBuddy folder in Documents, for captures, handoffs and traces; until you allow it, they go to Downloads › SimBuddy
-
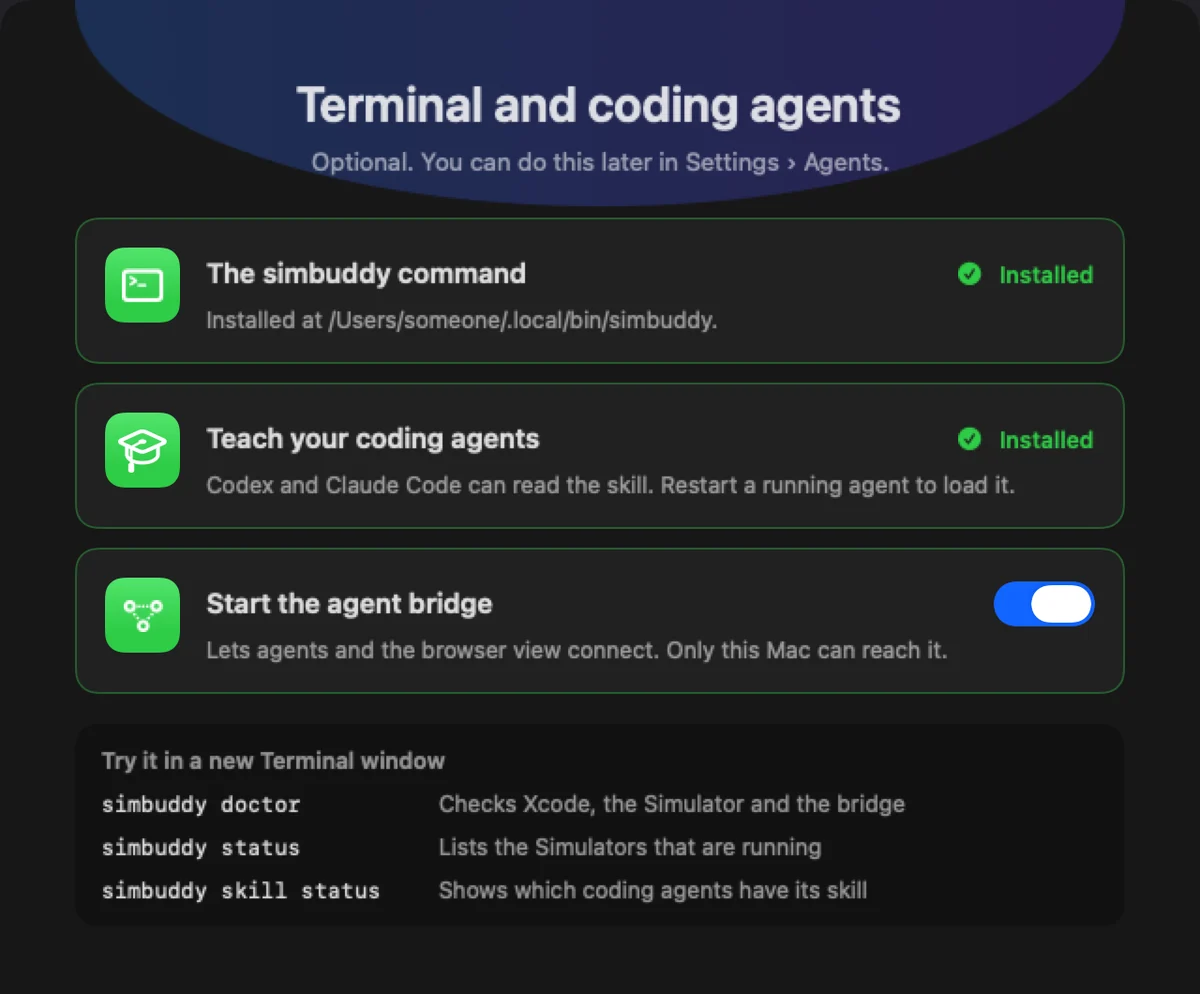
Bring your terminal and agents.
Install the
simbuddycommand, teach your coding agents its skill, and choose whether the agent bridge starts with SimBuddy. All three are optional and wait in Settings › Agents.simbuddy doctorchecks Xcode, the Simulator and the bridgesimbuddy statuslists the Simulators that are runningsimbuddy skill statusshows which agents have the skill
-
Open a device.
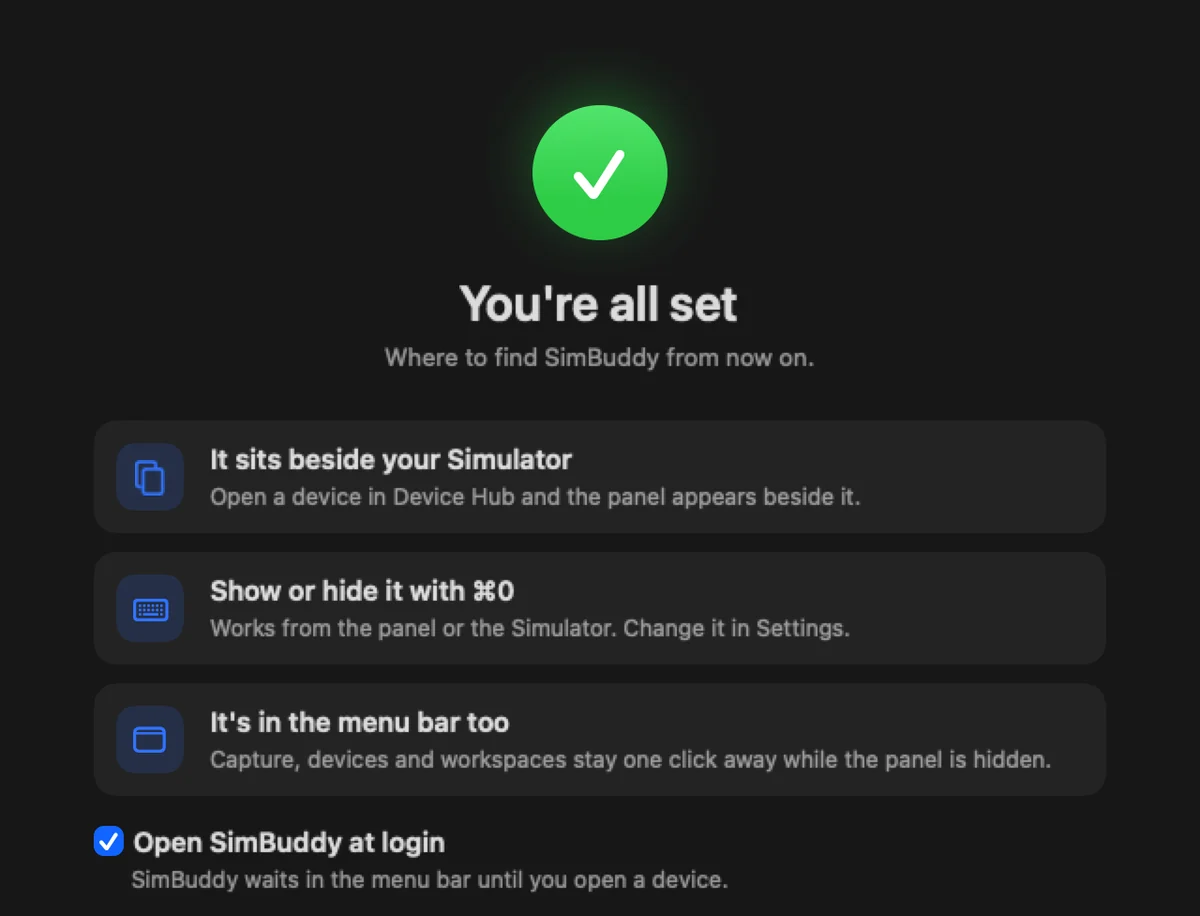
Open a Simulator in Device Hub and the panel appears beside it, following the window as you move it. ⌘0 shows or hides it from the panel or the Simulator.
While the panel is hidden, the menu bar still has captures, devices and every workspace.
-
Take your first capture.
Press Screenshot on the Home workspace, or choose Take Screenshot in the menu bar. Turn on Clean status bar first and the shot shows 9:41, full Wi-Fi and a charged battery.
Record works the same way, with every touch marked.
How Capture works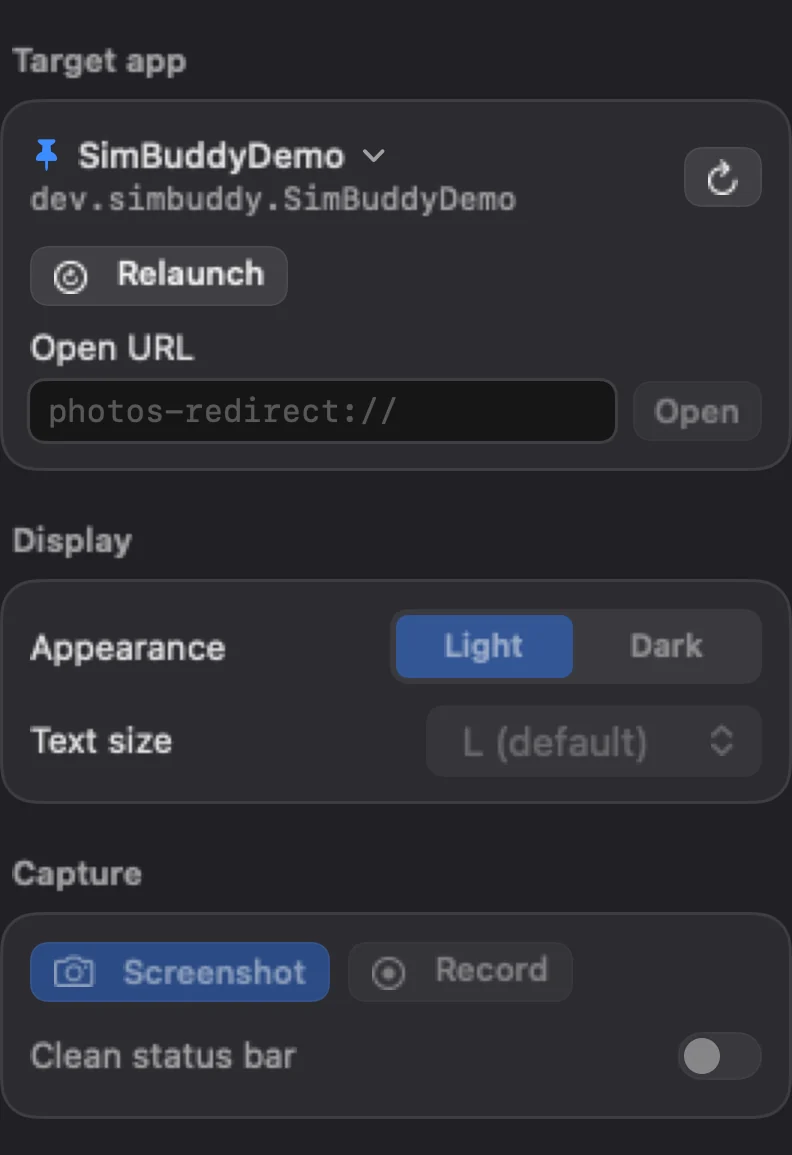
-
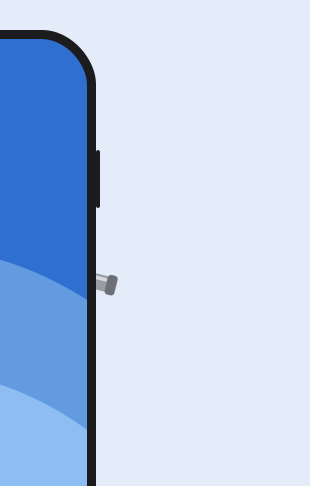
Hide it, and he waits.
Minimize the panel and the buddy waits at the Simulator’s edge, peeking out until you need him again.